300x600
Materials Required
- 1-1/2 in. FH Screws
- 2x6 oak
What It Takes
- Time: 1 hour
- Cost: $10
- Skill Level: Beginner

Mill parts to size

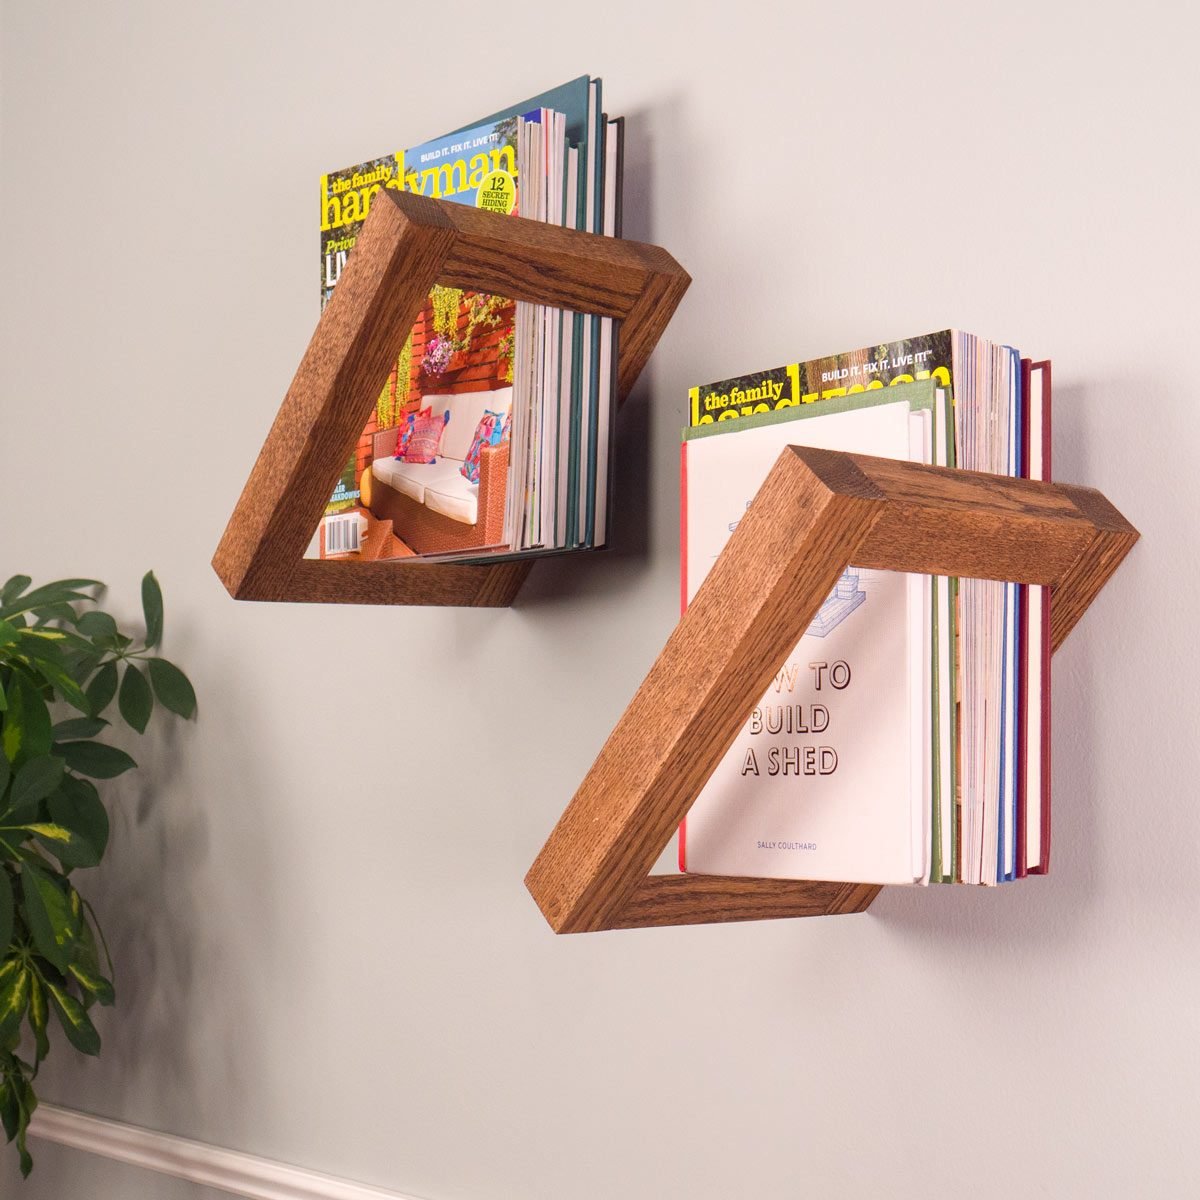
Rip a 45-degree bevel on one edge of the 2×6. Rip the beveled edge free, so the offcut is 1-1/2 in. x 1-1/2 in. Cut two 6-in. lengths for the beveled ends (A). Make another rip at 1-1/2 in. for the sides (B).
Assemble the shelves

Drill 3/8-in. counterbores into the end of each side (B) using a Forstner bit. Clamp the frames together and drill pilot holes. Remove the clamps and drill a clearance hole through the counterbores in the sides. Fasten the sides to the beveled ends with 1-1/2-in. flat-head screws.
Make plugs

Cut plugs using a drill press and a 3/8-in. plug cutter. Pop out the plugs with a chisel. If you don’t own a drill press and a plug cutter set, use 3/8-in. dowel stock instead.
Insert plugs

Glue and insert the plugs into the counterbores. Wipe away any excess glue with a damp towel. Let the glue dry. Use a handsaw to cut the plug flush, protecting the wood surface with a piece of cardboard, and then sand. Finish the shelves however you’d like!


0 Komentar